Thursday, 15 August 2013

PRINTING ON FABRIC WITH AN INKJET PRINTER


Did you know you could use your regular old inkjet printer to print on fabric? A world of possibilities opened up to me when I learnt this, and I immediately ran to my printer to try it out. I was so excited to realize how simple it was! You can pretty much print whatever image you like, as long as the piece of fabric fits in your printer, i.e. the width of a normal page. It can be much longer than a normal page though, as most printers have settings that allow them to print continuously, so you could even print a long fabric banner if you wanted to!


To print on fabric using an inkjet printer you will need some card (or any heavy paper—the front page of a magazine cover would work well), masking tape, fabric, an image and, of course, a printer.

Directions: Cut the piece of fabric down to size to fit your printer. Once you have the right size, tape the fabric down to the card using masking tape. The card will help guide the fabric through the printer, but make sure to cover the edge of the fabric in tape and cut off any strings so that it won’t get stuck in the printer. Once the fabric is taped down, place the card and fabric in the paper tray of the printer. Be sure that it’s facing the right way, so that the fabric gets printed and not the card. Test with regular printer paper if you’re not sure which way it should be facing. Once you’re all set up, print your image! The printer will pick up the card as if it’s just a normal piece of paper and print onto the fabric.


I used my printed fabric to make a simple drawstring bag for keeping film in. I have a tendency of just throwing film in my bag when I go out on photo adventures, and then spending ages trying to find them again. The image I used is one Graeme created in illustrator. If you’d like to use the same image, you can download it here (thanks, Graeme!).

Tuesday, 6 August 2013

35 MM AND SPROCKET HOLES


I love my Diana F+. And while I love using 120 film for it (like here and here), it can be both pricy and difficult to buy in Stavanger, never mind getting it developed. This was the argument I used to justify buying a 35 mm back. I'd get much better use out of my dear Diana F+, right? Not only would it be cheaper and easier with 35 mm film, I would also be able to take more then 10-12 pictures before my film was finished.

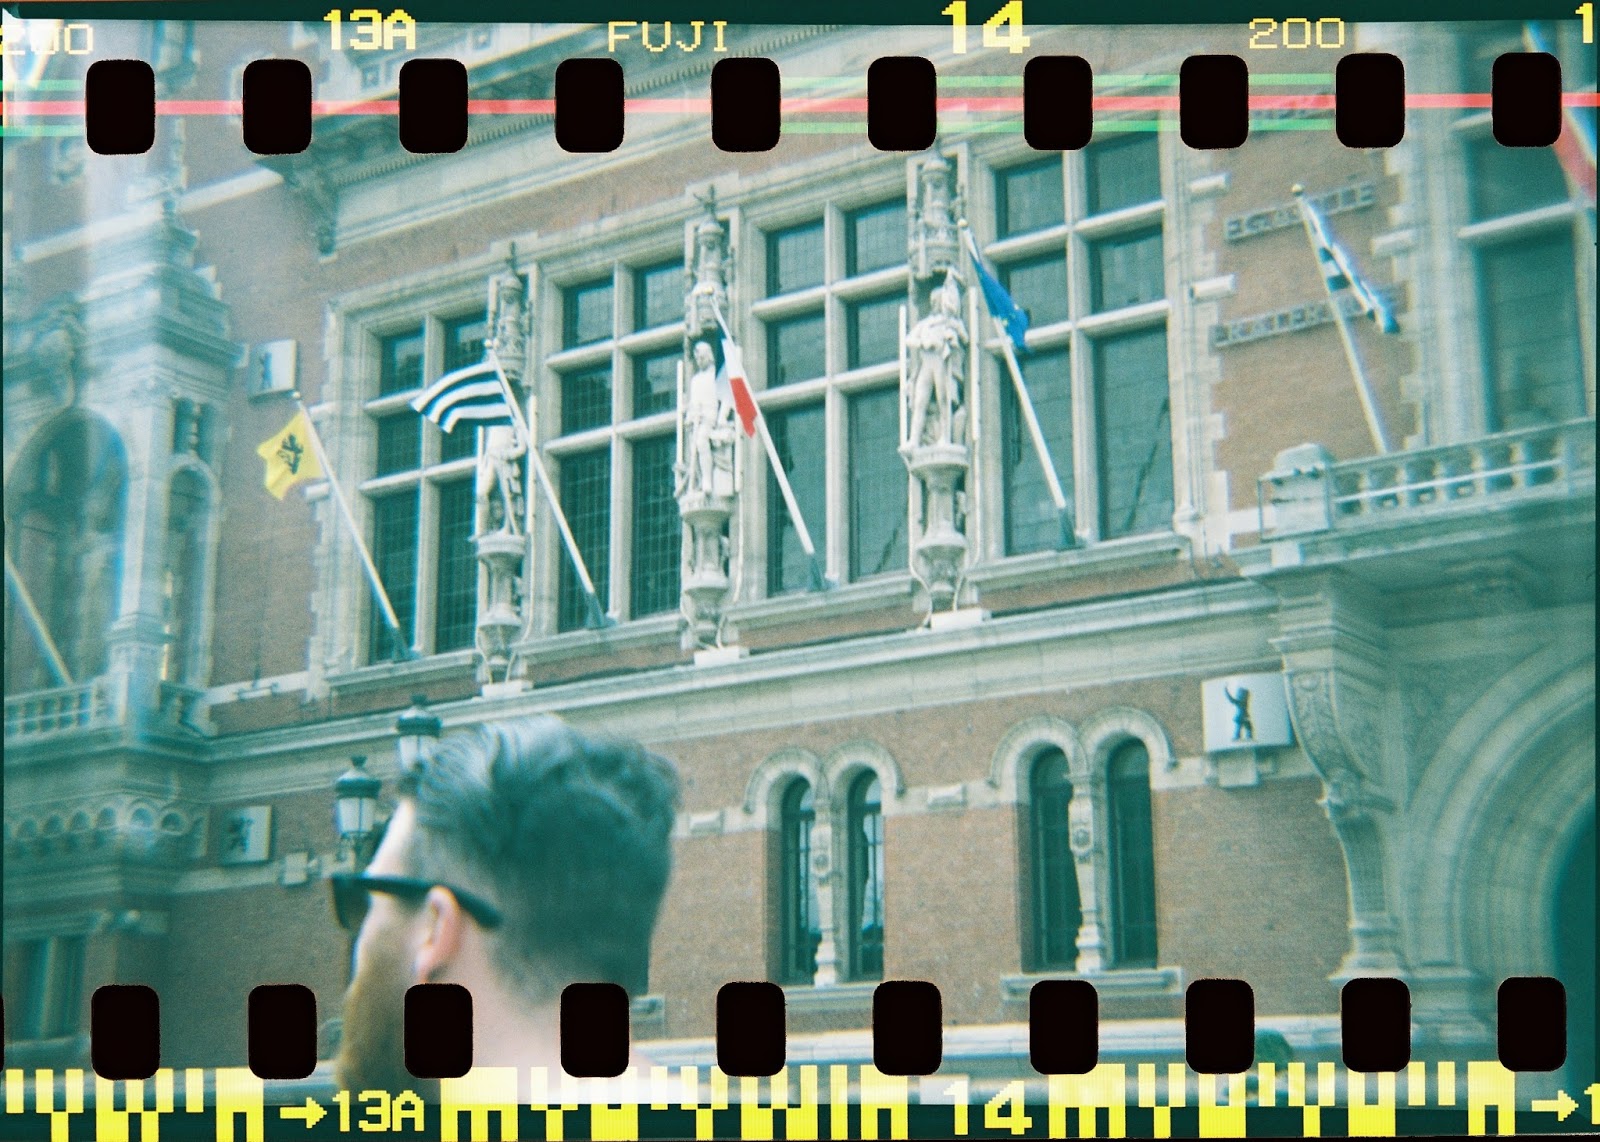
The Diana F+ 35 mm back kit also comes with four different frames, which means you can choose between four different photo formats, including square and panoramic, and with or without sprocket holes. Exciting! For my first attempt at using the 35 mm back, I went for the 33x48 mm "Panoramic with perforations" frame. Here's a couple of the photos I took:


These were all taken on mine and Graeme's road trip through Europe earlier this summer, more specifically from Bruges, Antwerp and Dunkirk. One thing I realized after I had started the film though, was that a lot of photo developers aren't actually able to develop the photos with the sprocket holes, as not all scanners pick them up. Luckily, the photo place I went to managed all right!


Also, like my new blog design? It's a lot neater than my old one, which I like. I've even got a bio photo now!

Sunday, 4 August 2013

RHUBARB AND LIME CORDIAL

I find that there’s something incredibly satisfying about going out in your garden, picking some fruit and using it in your cooking. We have tons of fruit growing in our garden; apples and plums, red currants, black currants, gooseberries, blueberries, strawberries and of course, rhubarb (and we have grand plans of adding a vegetable patch next year!).   

This summer we’ve had an abundance of rhubarb, and while dipping sticks of rhubarb in sugar is all kinds of wonderful, I decided to make some rhubarb and lime cordial out of it. And is it too much bragging if I say it's probably the most delicious cordial I've ever tasted?


Rhubarb and Lime Cordial Recipe (makes 1.5 liters):
1 kg rhubarb, chopped
75 ml water
800 g sugar
100 ml lime juice

Directions:
Add chopped rhubarb and 75 ml of water to a pot and put it on a low heat. Once the juices start seeping out of the rhubarb, turn it up a little and let it stew until the rhubarb has gone completely soft and pretty much just turned into mush. Line a bowl with a cheesecloth, and tip in the rhubarb. Gather the corners and let drip into the bowl for a few hours to get all the juice out. Speeding this process up by squeezing is totally allowed. You should end up with just over a liter of rhubarb juice. Discard the left over rhubarb, and pour the juice into a pot together with the sugar and the lime juice. Cook while stirring, allowing the sugar to dissolve. Take off the heat just before the mixture is about to boil, and pour into sterilized bottles.


Serve in the sunshine with 1 part cordial and 4-6 parts water (depending on how strong you like it), some ice and a wedge of lime.


Saturday, 3 August 2013

JULY ON INSTAGRAM

What happened to July? One minute it was here, and then today I woke up and it was already August. Time flies! The weather has been pretty good, so we’ve spent a lot of time outside this month. Graeme's friends came to visit for a weekend, we went on a few weekend trips to the south of Norway, had lots of BBQs and just generally enjoyed the sunshine. I even have a bit of a tan again! 

Today we woke up to torrential rain and thunderstorms though, and I'm currently sitting here with a pot of tea which is making it feel very autumn-y. Bo's not usually scared of thunder, but she's been hiding in Graeme's arms under the duvet all morning, occasionally growling whenever the thunder gets too loud or too close. I, on the other hand, love this weather. Think today might be a duvet day!

Monday, 22 July 2013

LINN'S SWEET POTATO SALAD


I think if it was up to me (and I lived somewhere a bit warmer), I’d BBQ and eat outside every day and never wear any shoes. Unfortunately I live nearer to the arctic circle than the equator though, which means I get a somewhat limited amount of hot and sunny days (and I have a suspicion that not wearing shoes in the office might get frowned upon). However, now that it’s summer we’ve been taking full advantage of the sunshine and the long light days. This weekend in particular was fantastic, and as Graeme and I recently got a BBQ and
are now totally in BBQ mode and aim to eat as many meals as possible outside in the garden. Is there anything more summery?

This sweet potato salad is, as the title suggests, based on a recipe I got from my friend Linn. She served it at her BBQ last weekend, and it was so delicious I had seconds, and then thirds. I love the soft sweet potato mixed with the crunchy peppers and almonds. Lots of textures, lots of flavours, lots of deliciousness. It’s a perfect side for a BBQ and has been my go to dish since I got the recipe. I have changed the recipe slightly since I got it, so here’s my version of Linn’s sweet potato salad.


Linn's Sweet Potato Salad recipe:
750 g sweet potatoes, cubed
100 g almonds, chopped
1 red pepper, sliced
½ red onion, thinly sliced
zest and juice of half a lemon
1 tblsp olive oil
handful of rosemary
handful of parsley


Directions: Start by cubing your sweet potatoes. Spread them on a baking sheet with some oil and season with salt and pepper, and let them roast for about 20-25 minutes. While your potatoes are roasting chop the almonds, and then throw them in with the potatoes for the last 5 minutes to toast them. Combine pepper, onion, parsley and lemon zest in a bowl, and add the roasted sweet potatoes. To make the dressing, combine lemon juice, chopped rosemary and olive oil in a small bowl, and whisk together. Pour it over the potato mixture and toss gently to coat. Sprinkle the toast almonds on top and serve with whatever you decided to throw on your BBQ today.